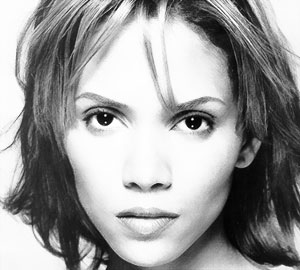
1. First use a picture in decent quality or just your blend. For this tutorial I'll once again start working with a picture of Halle Berry, this one here
How to create a hand-drawn painted looking artwork
The basic idea of this style is making an artwork look like it's been drawn by hand by using brushes and water colors. It works both for
a result with colors or for just the b/w picture.
There might be different results of the finished artwork, dependin on the picture you're starting with, also depending on the quality
of it. Or you can create your blend and save that as .jpg file and work with that one (in that case, just create the basic blend with
no additional brushworks since they work best after applying the effect. You also should have some basic knowledge of your Photoshop
or PaintShopPro program.
So here's how to do that.
1. First use a picture in decent quality or just your blend. For this tutorial I'll once again start working with a picture of Halle Berry,
this one here
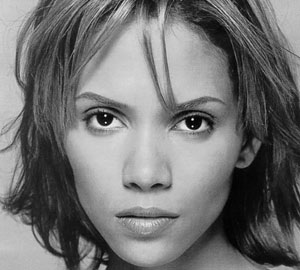
2. Then you need to desaturate the picture for getting the best results. You can do that either by going to Image>>Adjustments>>Desaturate
or when working in Photoshop by using the shortcut Shift+Control+U
3. Invert the picture (in Photoshop by pressing Strg+I) and create a brush out of that picture. You'll need that for an in-between layer to lighten up the picture a bit. After you've finished that, revert the picture to its desaturated state. Set the two colors to black and white. Now you can start for the real effect.
4. Duplicate the layer of your picture and apply the Angled Strokes filter with the settings Direction Balance: 50 Stroke length: 15
Sharpness: 3 as shown in the screenshot(those were the ones automatically appearing when I opened the filter settings).
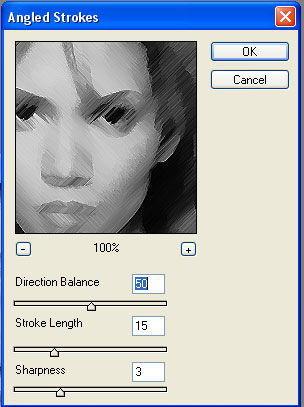
Then set that layer on overlay. Your picture should be looking similar to this one. You might not yet see much of a difference or of the
effect but it's coming.
5. Duplicate the layer you've just applied the filter to. Your picture is getting slightly darker and more contrast.
6. Now create a new layer and use the brush you've created to put a brushed image of your original desaturated picture over the images with
the white color. The blending mode for this layer remains on normal. This is a step for lightening up your image, otherwise it will be really
dark once finished. Your picture will look something like this