How to create a hand drawn look
The results
may vary in the outcome of this tutorial, depending on the picture youre
starting with. I have Photoshop 6 but it should work similarly with PSP, also I
have a German version of Photoshop so I have translated
the tools and settings as good as I could but on the
screenshots there are the German terms visible.
- The first
thing is that you need to find a picture in decent quality; you can also
create your blend first (without additional brushworks) and work with that.
- You need
to set the two colors in PS to two different shades of grey (lighter grey:#EDF1F1, dark grey:#272727, those are the ones Ive worked best with, but it
should work with the bw combo as well)
- To get
the desired effect is a matter of several layers of basically the same picture
set on overlay with different opacities and it is done in two major steps.
Step One: The
base picture
- Choose a
picture to work with, for the tutorial I am working with this picture of Halle
Berry.
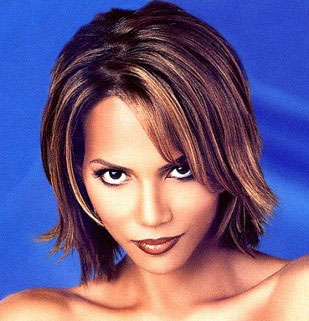
- You need
to desaturate the picture so that the colors dont get in the way. Then create
a brush out of that picture. Then invert the picture (Strg+I) and create a
second brush out of it. If you have the two brushes, you can turn the picture
back to its desaturated state by just pressing Strg+I again or just delete
that step in the protocol. Keep the desaturated picture in the background,
youll need it later.
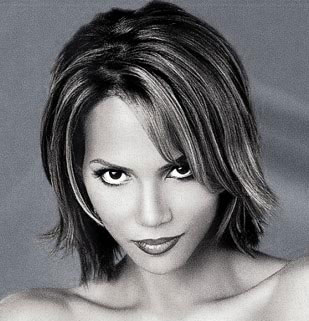
- Now
create a new layer on top of your picture and fill it with a light grey color
(#BABABA for example) This is going to be your background. Create a new layer
on top of that and use the normal brush youve made out of the Halle picture
with the lighter grey color. Your picture should look like this.
- Now
create another new layer and use the same brush again, this time with the
darker grey. Duplicate that layer and set the opacity of that one to 55%
(depending on your picture, anything between 50-60% should work) Your picure
looks similar to this one

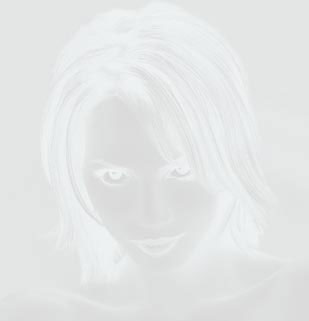
- Youll
need another layer, this time use the brush youve made out of the inverted
picture with the lighter grey color. Set that layer on overlay and the opacity
to 72%. Your picture will look something like this
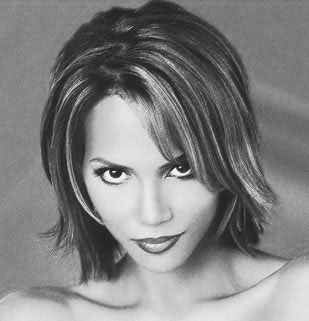
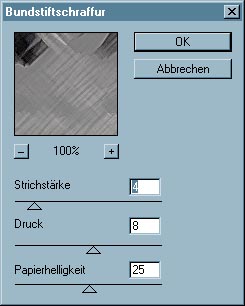
- After
done all that, drag your original picture on top of all those layers. Use the
colored pencil filter with the settings strength 4/pressure 8/paper
brightness 25
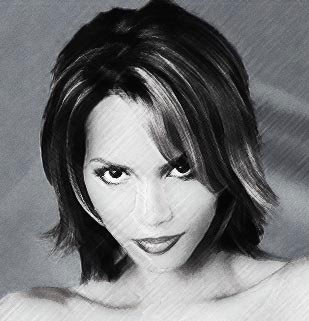
Set that layer on overlay with an opacity of 56%. Duplicate that layer and set
the opacity up to 69%.
- This is
what the picture should look like, or similar to it. Save that picture as a
.jpg and youve finished the first step successfully.
next step